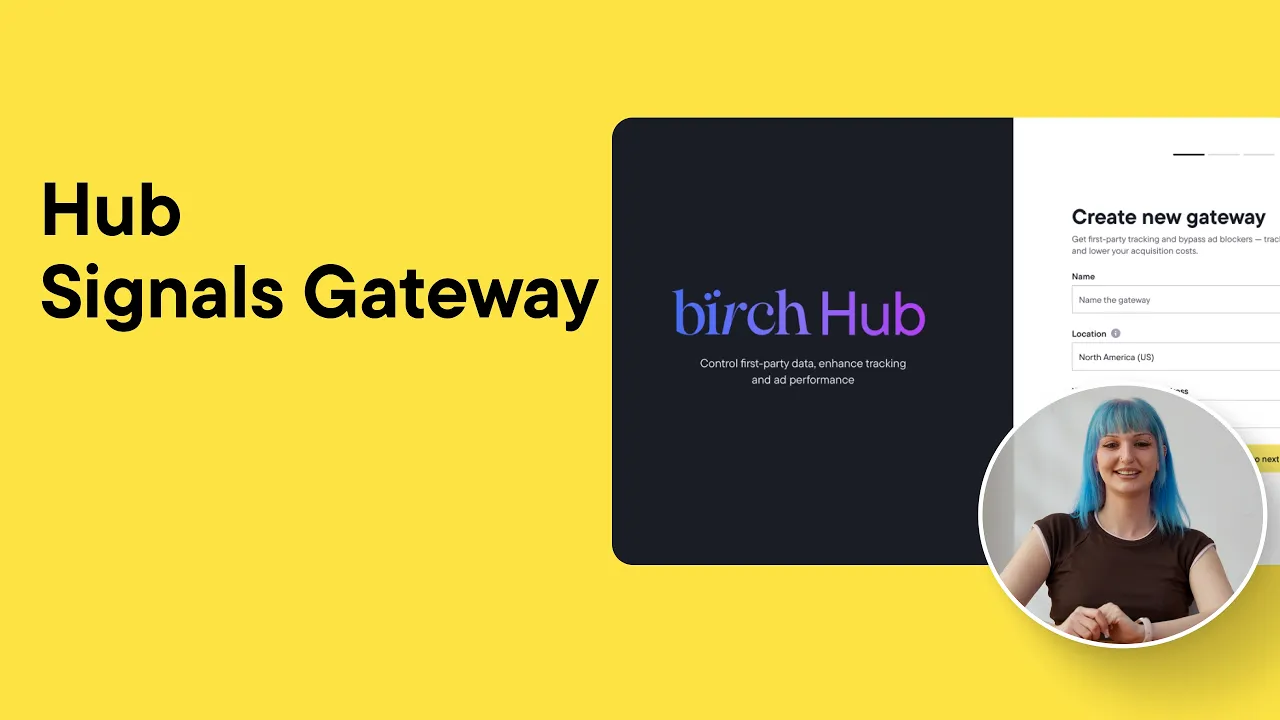
Hello, and welcome to Birch. In today’s video, we’ll be talking about our Meta ads tracking and reporting feature, Birch Hub, how it works, and how to set it up.
With server-side tracking and improved conversion insights, Birch Hub helps you get more accurate data and better campaign performance.
Step-by-Step: Setting Up Birch Hub
Step 1: Creating Your Gateway
If you’re a new user, the first step is to create a Birch account. This can be done from the sign-up page.
If you already have an account with us, you can navigate to the Hub section to create your gateway. Name it, choose the region where most of your customers are located (North America, Europe, or Asia), and your primary website address.
Next, connect your Meta account and select the dataset where you want to send the tracked events. Once everything’s completed, the Conversions API Gateway will be automatically configured for basic tracking.
You can keep your gateway as is, but you also have an option to complete all three steps to further improve tracking accuracy and signal quality.
Step 2: Setting Up a Custom Tracking Domain
This step requires using a CNAME record in your DNS provider. In the domain settings, enter the subdomain (which can be customized) and the associated web address — your primary domain. Please ensure you enter the bare domain here, without the www.
Next, in your DNS provider, create a new CNAME record:
- In the Type field: type CNAME.
- In the Name field (sometimes called Host or Record name): enter the subdomain you chose.
- In the Target field (sometimes called Value or Points to): enter your signals gateway domain, which is assigned by default. It’s specified in the domain settings window, right below the subdomain field.
Save the DNS changes and wait for propagation to complete. Please note that this process may take up to 48 hours, but it’s usually faster.
Once everything’s set, in the Hub, click “Check domain status” to confirm it’s working, and you can move on to the third and final step.
Step 3: Setting Up the Signals Pixel
This step requires some coding on your end. The Signals Pixel is a lightweight code snippet that tracks user interactions on your website and sends data to the Gateway.
If you’ve already set up events using the Meta Pixel, you don’t need to define them again. All your existing event configurations in Meta will be replicated through the Signals Gateway. You can either keep it and skip this step or remove it before installing our code.
To complete setting up the Signals Pixel, simply copy and paste the code right before the <head> section of every page on your website. We recommend using the combined Meta and Signals Pixel snippet to reduce event duplication.
If you’re using Shopify, you’ll need to add the code directly to theme.liquid so it loads on every page of your store. You can check out our article detailing the exact steps for additional information.
All done! Your gateway’s now fully functional, and you’ve maxed out your tracking efficiency.
Managing Your Gateway
Next comes managing your gateway. If you want to block certain events from being sent to all data destinations connected to the pipeline, you can apply a pipeline filter to exclude them.
The chart shows data from the last 14 days, whereas the table below displays the events received during the past 24 hours, sorted by event name. You can hover over the icons next to each tracked event to see the source and event count.
You can create up to 10 gateways per Birch account. You can add new ones on the Gateway page by clicking the “Create gateway” button.
With Birch Hub fully configured, your tracking data is now processed server-side and efficiently transferred to Meta and other destinations.